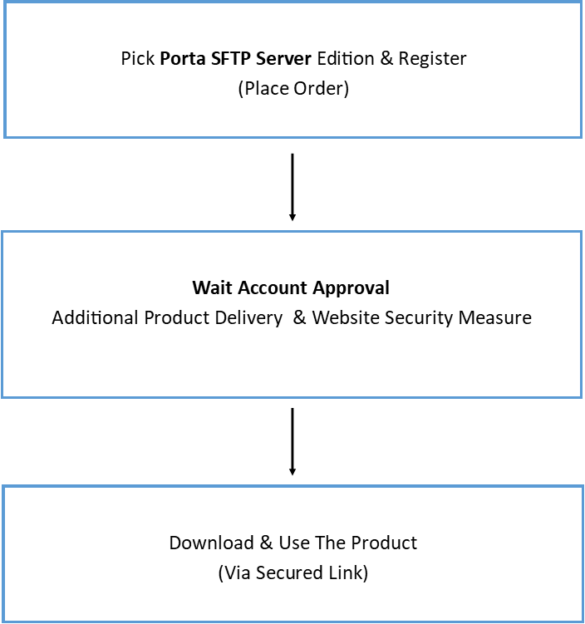
Porta SFTP Server Free Edition (Community Edition) is a project initiated by healthcare (Data Analyst/Scientist) professionals that follows best security encryption practices. Healthcare is known for transferring a vast amount of data files for Electronic Data Exchange. This software makes it easy for anyone looking for an SFTP Server solution that complements any SFTP clients for transferring files securely. Regardless of what your job is, this post will show you how to setup/install the Porta SFTP Server and the Java Runtime Environment (OpenJDK/JRE) and use it within your organization.
Caveat: Adjusting Resolution
If you are having issues with the resolution which resulting the Porta SFTP Server forms, label or text not displaying correctly, please go to your Display->Advanced Scaling Settings.
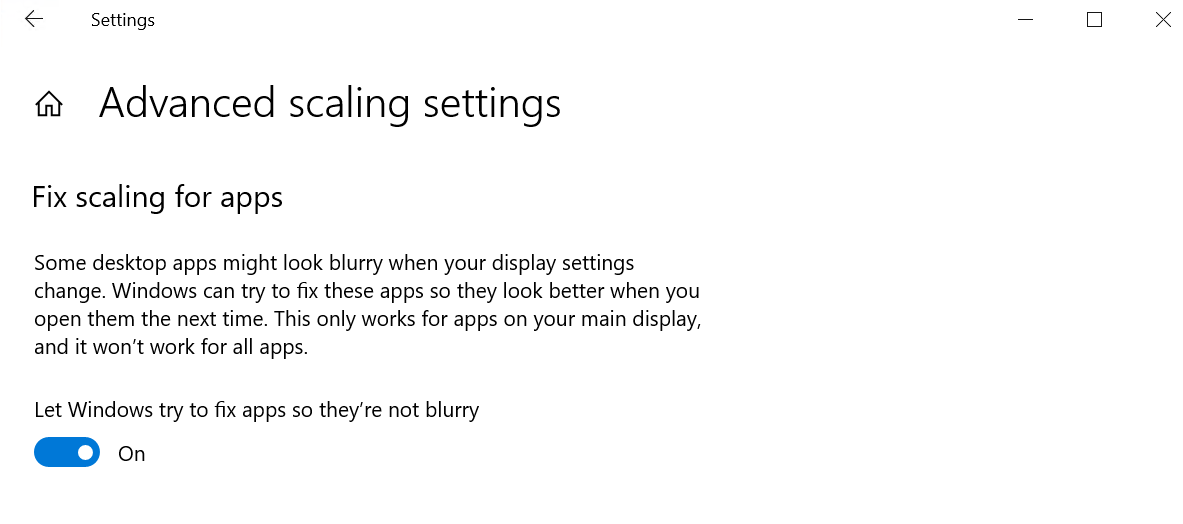
Note. You have to turn on the “Let Windows try to fix apps so they’re not blurry”.
Download Porta SFTP Server
Go to the Free Edition Page and download the Porta SFTP Server. The website will send you the link to where you can download the AES-Encrypted Zip file along with the password. At the moment the software is not digitally signed, so it is recommended, that you verify the hash with 7zip via CRC-64/SHA-256.

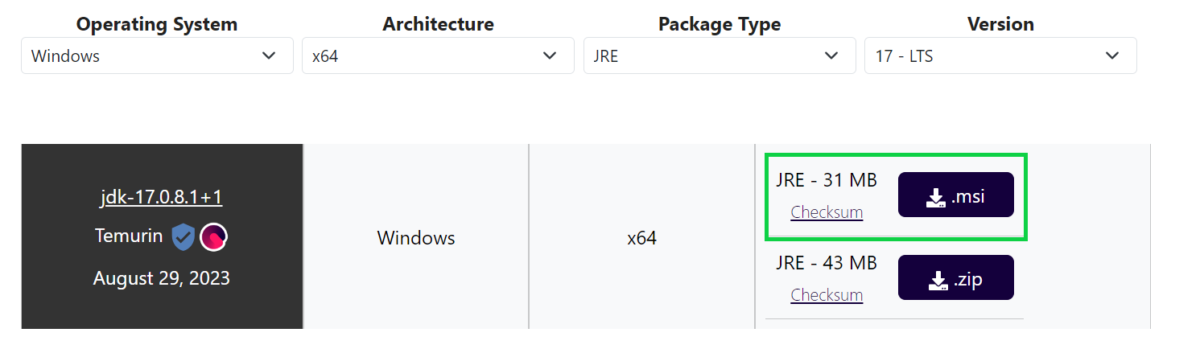
Install JRE
Once, you extracted the zip file to the desired location of your choice, download the Java Runtime Environment (JRE). Note that this is required in order to run the Porta SFTP Server.
Note. If you are using Ubuntu 20.04+, you can simply execute “sudo apt istall openjdk-17-jre“.
Configure Porta SFTP Server
After you installed the JRE, navigate to the Porta SFTP Server folder and double-click the .jar file (executable file).

Note. To run the Porta SFTP Server in Ubuntu you need to allow the application to be executed. You can simply do this by executing “sudo chmod +x [filename]”. After that, you can set a default program to run the application e.g Java Runtime Environment 17.
When you see the prompt below, you have to put the RSA Private Key Password. The latter will be used as the encryption for any data flow within the Porta SFTP Sever and for securing any configurations.

As you can see below, there are 4 options to store your RSA Private Key Password, this is defaulted to “Enter at Startup” and this means you have to provide the password whenever you run the Porta SFTP Server. In this demo, I’ve chosen the “Config File” option. You can also use HashiCorp Vault but this is not the purpose of this blog(Instruction is included in the stand-alone documentation).
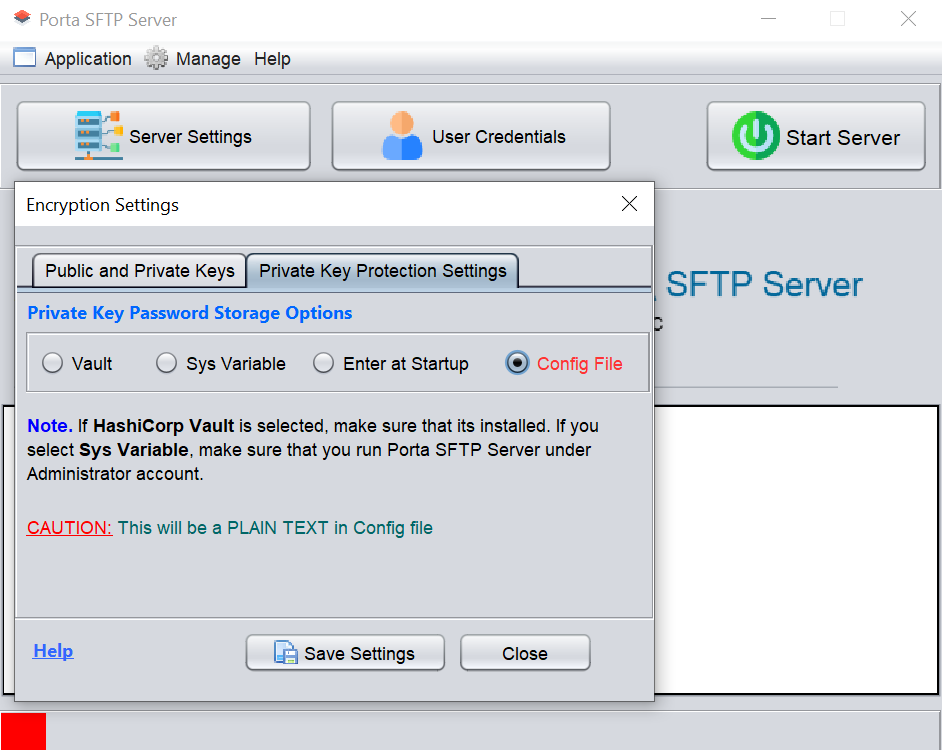
Note. After you configure these settings, feel free to close this form.
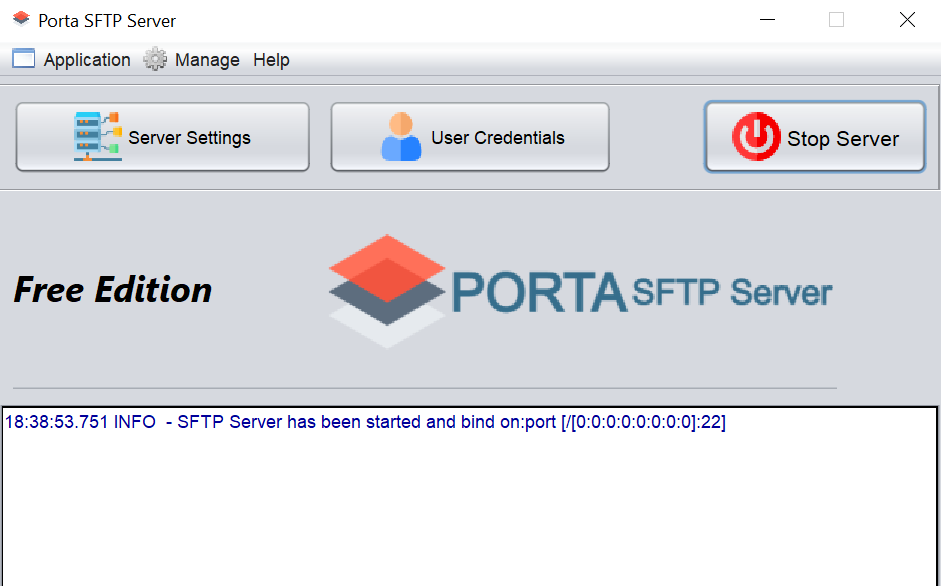
Start Porta SFTP Server
Once you configure the said settings, you can now start the Porta SFTP Serve by clicking the “Start Server” button. Then, navigate/click to the “User Credentials” and add user/s to login to your Server.

Note. Please avoid spaces as much as possible for the application’s folder name and any username. Also, the username will be used as the user root folder.
Connect with WinSCP
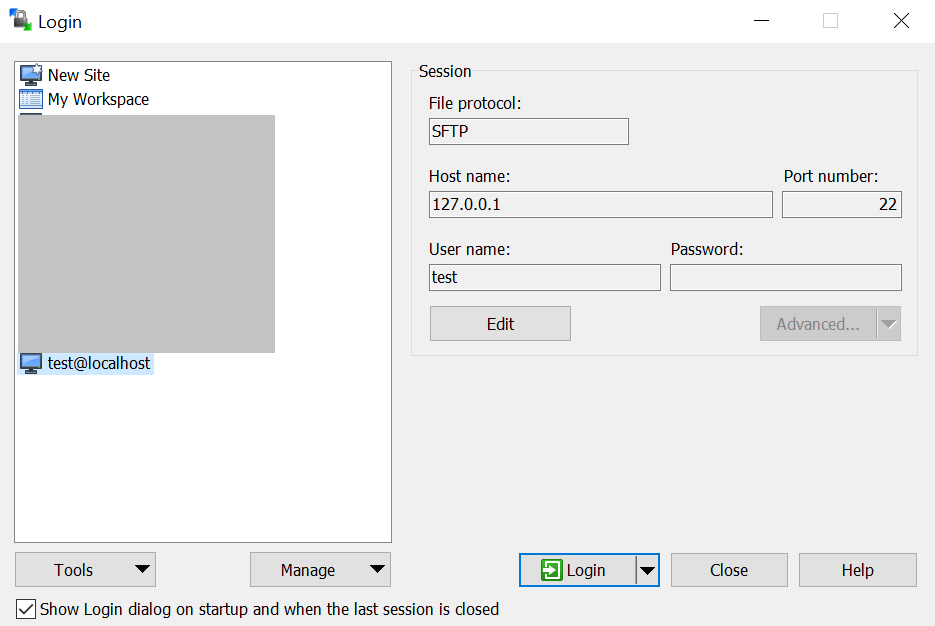
Note. When you connect at the first time, make sure to accept the RSA Fingerprint Prompt warning from WinSCP. Of course, given that you are connecting to the right server.

Conclusion
So, this post, showed how easy to install the said required library to successfully run the Porta SFTP Server. This also shows how convenient to configure the SFTP Server for the first time. Lastly, WinSCP has successfully connected to the Porta SFTP Server.