Porta SFTP Server supports multiple authentication options such as username and password and public key authentication. Public key authentication must reside within the SFTP Server perimeter to authenticate the client’s session with its private keys. This method is a good option to increase security compared to simply using a username and password. That said, this post will show how we can create the private and public key pairs and how these keys are used as credentials to log in to the SFTP Server. Though, to successfully follow the steps for this post, please make sure that you have the following.
- Porta SFTP Server Free Edition
- WinSCP (Recommended) or FileZilla Client
Creating Keypairs With WINSCP
Open/Run WinCSP Client and under the Tools select the PuTTYgen
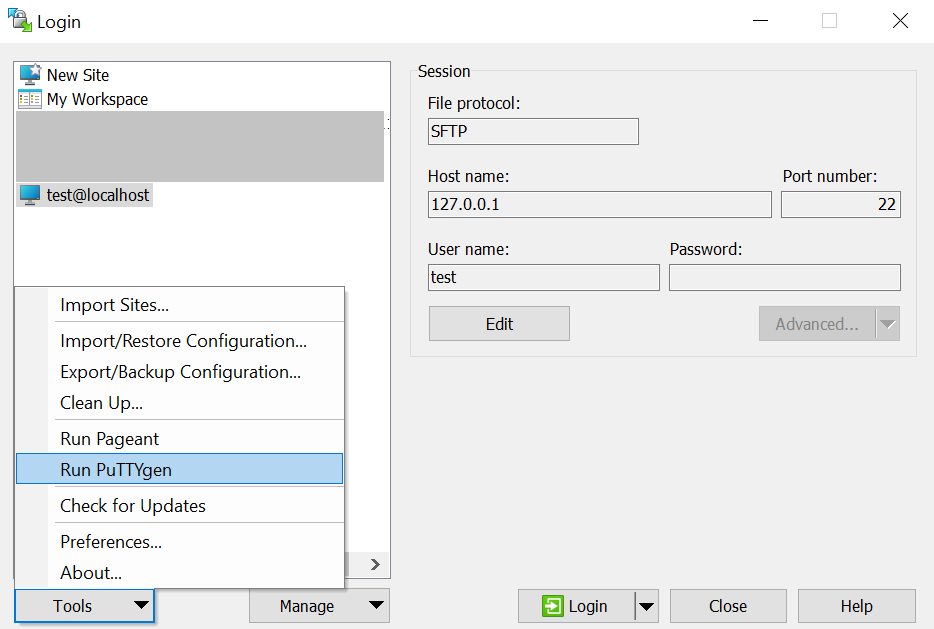
Note. This option will show you the form like the image below.
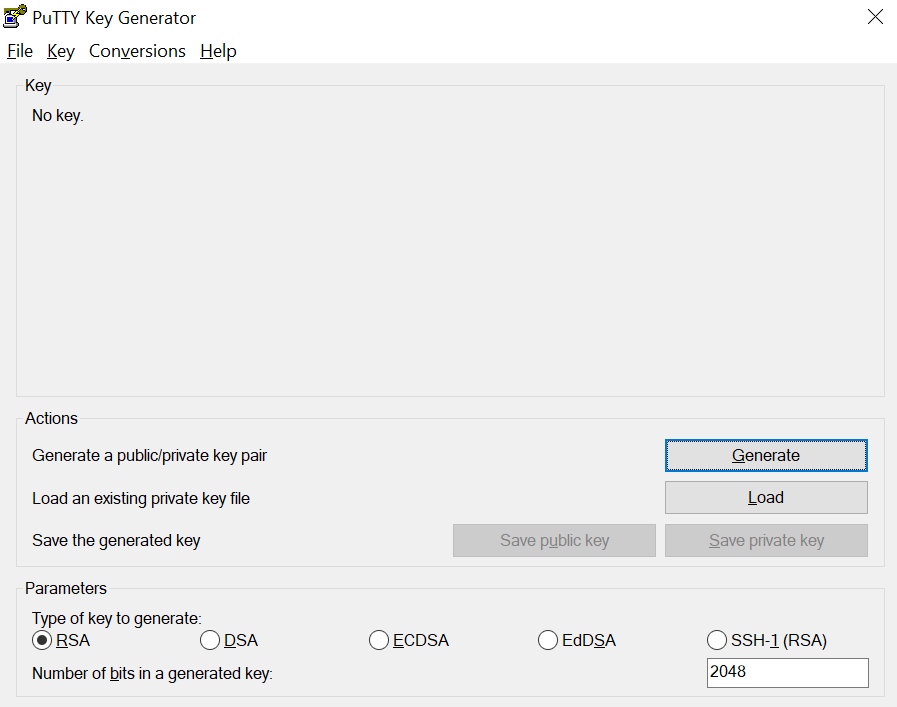
Note. Select RSA and Click the “Generate” button then make a mouse move (gesture) on the rectangular area to create the key pairs. Once the key pairs are created, you can save the public key and private key and name them the same as your username.
Caveat, the public key is the one that you will give to the organization/individual who owns the SFTP Server (who is sharing the data with you or vice versa). This is because, the private key will be used by the SFTP Client (you), and you do not want to share the private key with anyone. Also, you can set a password to your private key (if you want to). The latter will cause you to enter the password whenever connecting to the SFTP Server of course.
Configure Users Key Pairs WinSCP
Porta SFTP Server looks up the public key based on the user’s username created. That said, if you are using the software, please make sure to name the public key the same as the client’s username. This is also a good practice as this complements more organized files located in the AUTHORIZED_KEYS folder.

Open/Run WinSCP, select the user then click “Edit” and “Advanced”
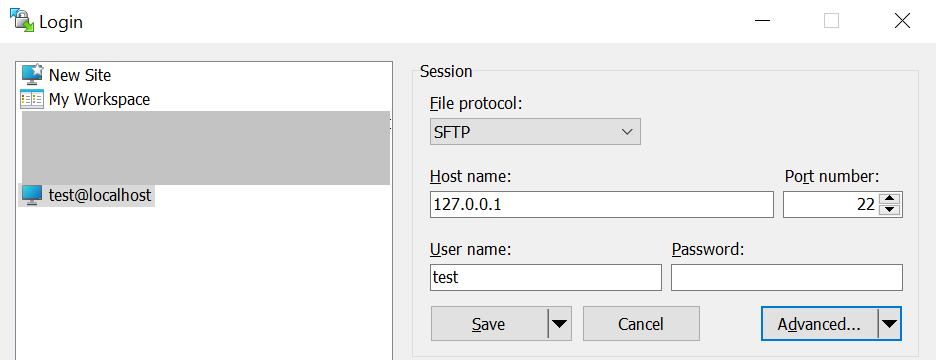
Note. Once you click the “Advanced” button, go to the Authentication tree like shown below.
Again, as client we should use the .ppk file (private key) as credential to login to SFTP Server.
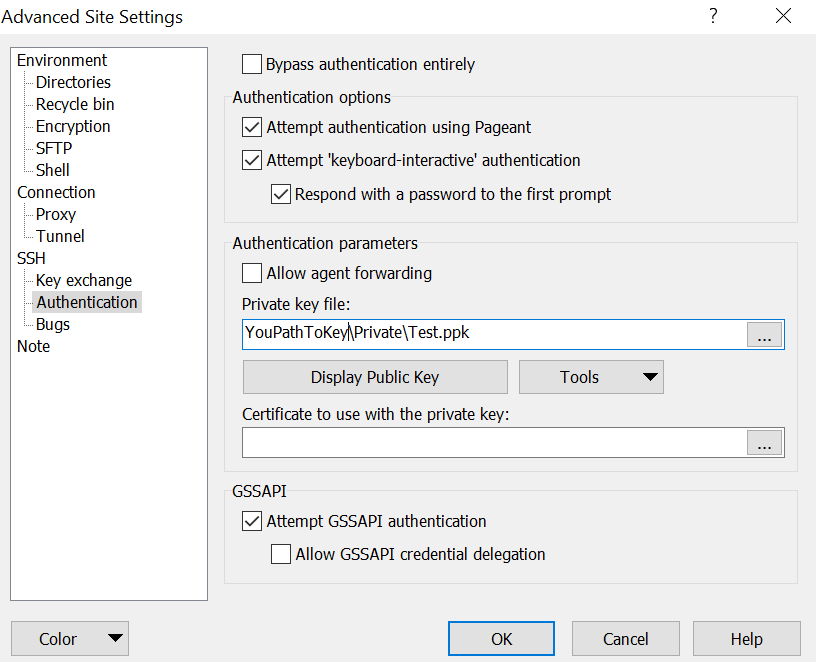
Note. Once you specified the location of your private key, click OK and Save to apply the user settings.
Test Locally w/ WinSCP & Porta SFTP Server
Run then Start Porta SFTP Server
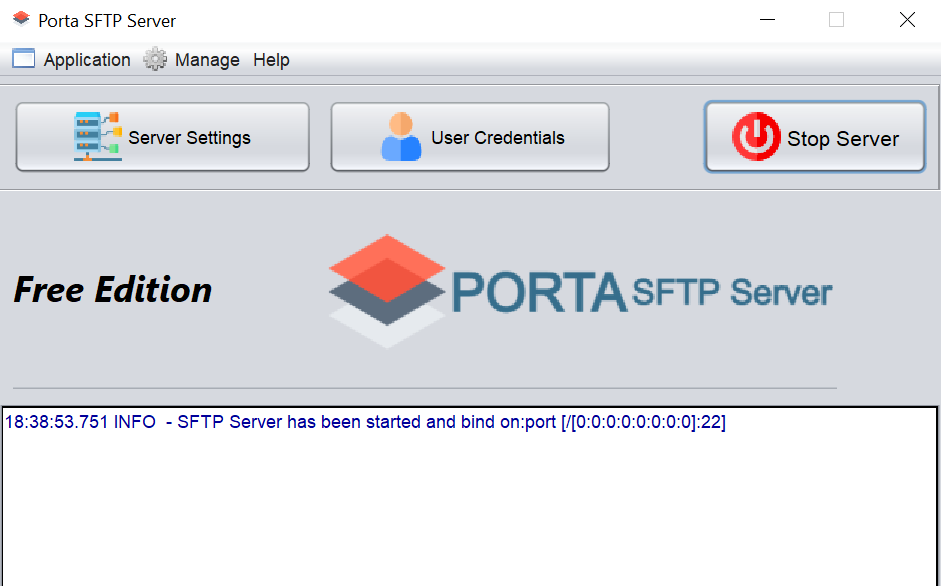
Note. If you are testing with Porta SFTP Server locally, please make sure that the server is running.
The client should see similar to the following saying that the server is authenticating with the public key.
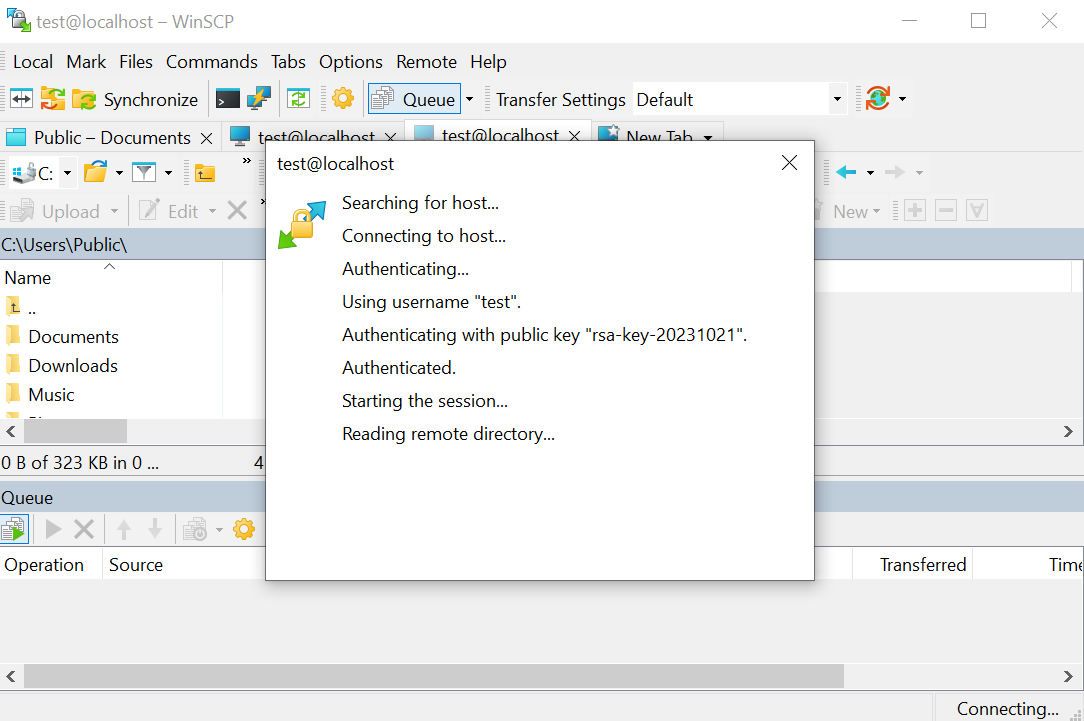
Note. The private key is used by the client and compared to different attributes such as a key fingerprint to the public key given to the server.
OpenSSH/SSH Support (Non-Putty)
For non-putty public key format or if you are using the ssh-keygen from an OpenSSH client, make sure you remove the header and footer of the public key contents.
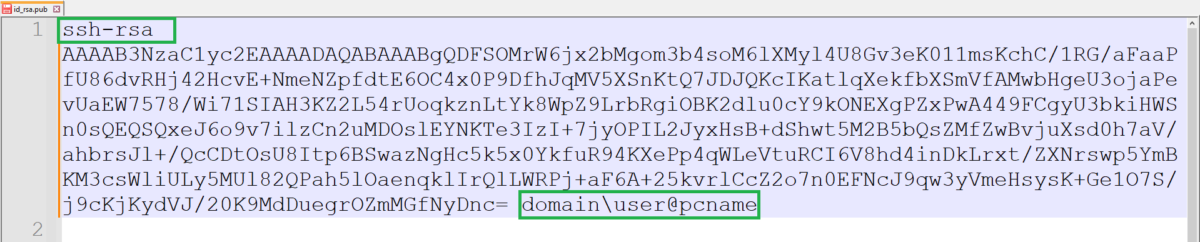
Note. In the future, this will be ignored by Porta SFTP Server automatically.
Conclusion
So, in this post, we’ve learned how to create the Public and Private Keypairs using the puTTYGen tool. Also, we see how easy to use the Public Key authentication and configure it with Porta SFTP Server and Private Key for the SFTP client (WinSCP). In addition, we also tested it locally to prove the working settings using the WinSCP Client to connect with our running Porta SFTP Server.