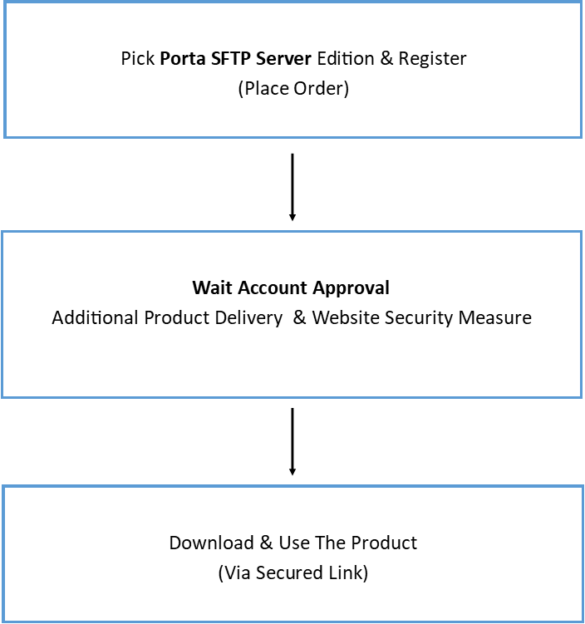
In most cases, if you are new or only using this software and just need to transfer files securely from the remote computer, you do not need to go through all of this documentation.
Assuming that you already have an SFTP client like WinSCP or FileZilla, all you have to do is follow.
Make sure that you already installed the Windows Desktop .NET Runtime.
Download the Porta SFTP Server, Extract the compressed file, and run/open the executable file then.
- If you want to enable Azure Certificate Security Authentication (x509) then generate a certificate, upload the public key to your Azure, and allow 1-24 hours for the propagation. You can generate a certificate using OpenSSL or use the friendly built-in user interface of Porta SFTP Server. Note: This step does not apply to the Free Edition but the Business Edition only.
- When you prompt to the first Windows asking you to generate server keys, click “Generate & Add” and then close the window.
- To accept a connection you have to put some user/s in the “Manage User Credentials”. All you have to change is to put your username and password, the user organization, and leave the rest as it is.
- Start the server and connect with your chosen SFTP client.
Note: The steps provided here are almost the same for the Ubuntu version of the Porta SFTP Server.
And that’s it…